Monday, July 21, 2014

Green Arrow

Well, let's keep rolling with Kevin Smith comics. This is his 15 issue run on Green Arrow. 


I decided to make 3 volumes of 5 issues each.


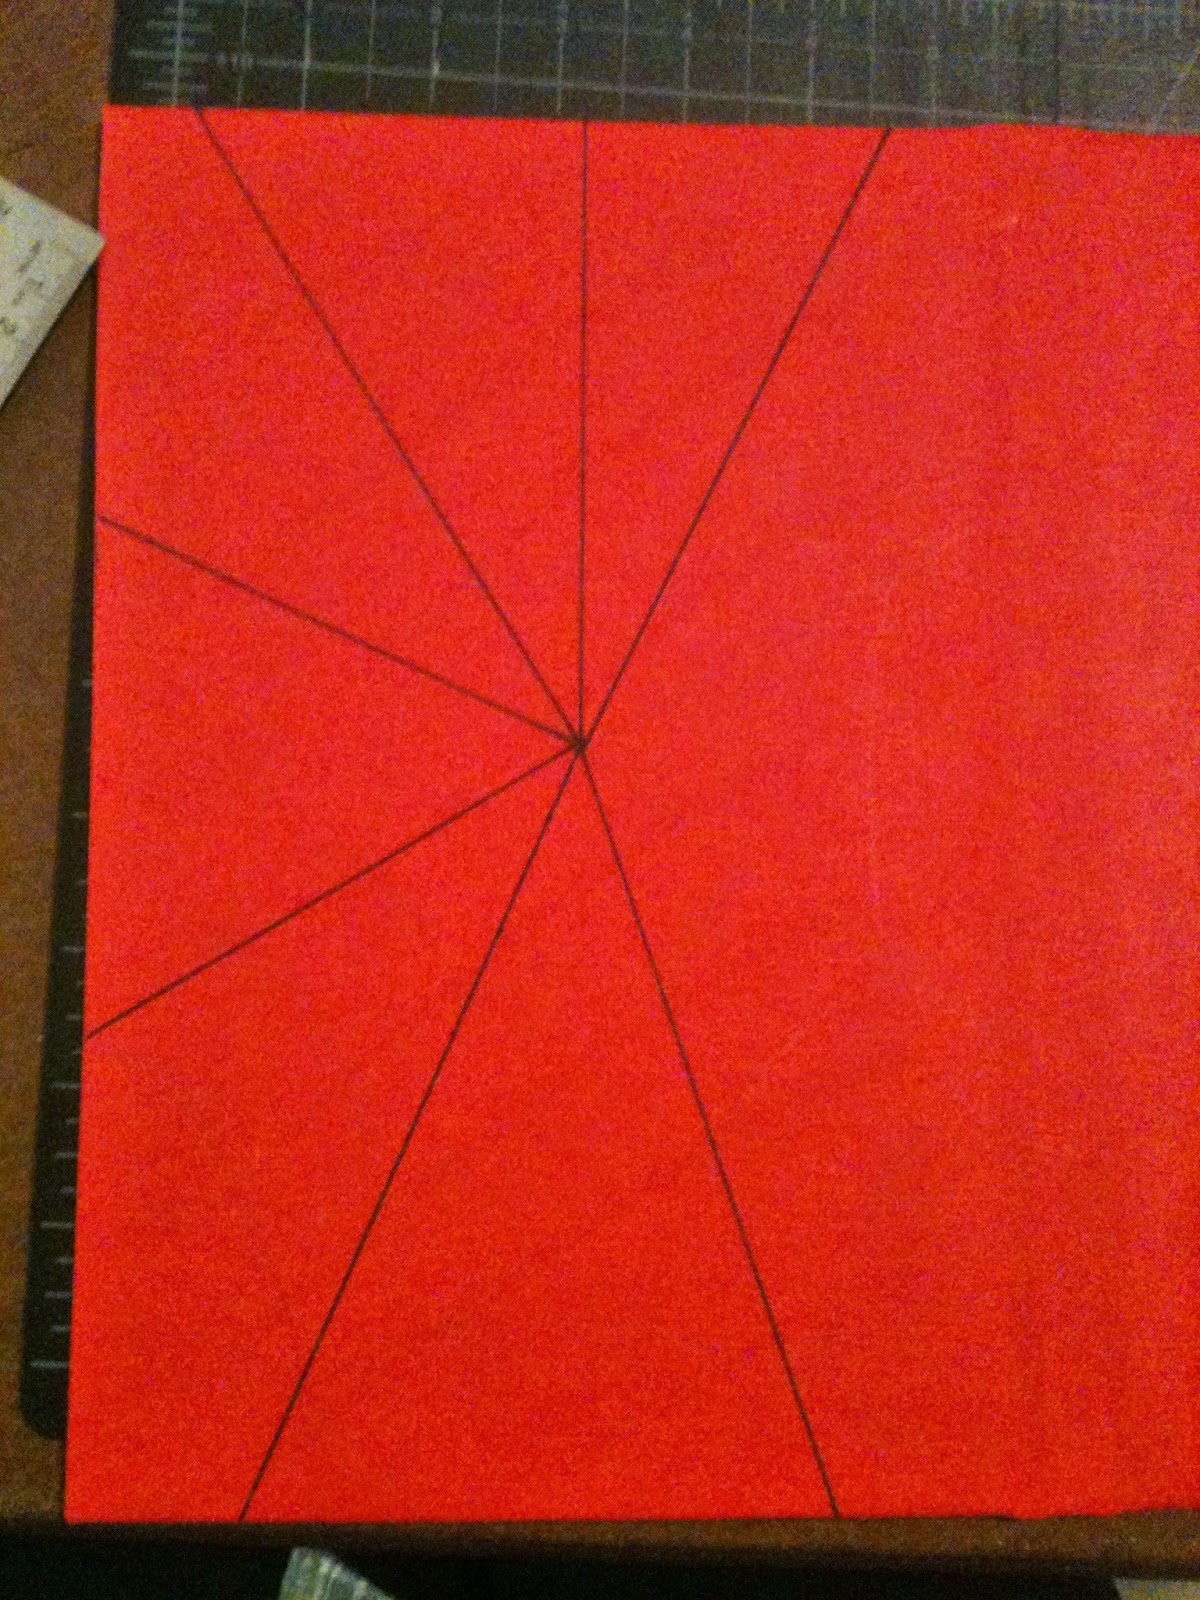
I bound the issues together by sewing...


Sewn

Then gluing.


As for the cover, I found the perfect artist paper--green with feathers. But I couldn't decide whether to go with Bradel Binding (like Birds of Prey) or Quarter Cloth.

Journals I made--Bradel Binding (left), Quarter Cloth (right)


I decided to go with the Quarter Cloth. As much as I love Bradel Binding, I'd already done that with Birds of Prey and Green Arrow should have his own personality.

Gluing book board to the book cloth.


Time to glue the artist paper to the book board.


Next it's time to turn in the corners.


 And finally, casing in. I had previously glued the end papers (dark brown below) to the text block. Casing in is gluing the end papers to the book board. This completes the book.


And the finished project:


So that's Green Arrow.  

Next time: Captain America's Shield

Friday, June 6, 2014

The Evil That Men Do--Thwip Thwip

Now that the inset is in place, the book needs a title. Ideally I would have liked to fit the entire title on the cover...Spider-Man and the Black Cat: The Evil That Men Do...but that's a lot of words. Especially for stamps as you'll see...

I used cursive-y type plastic stamp letters that stick to a glass graph thingy (I'm sure it has a name, but I don't know what it is). I like this type of stamp because you can see what it will look like before you ink anything. The ink is "espresso," a dark brown.


Now for the "Black Cat."

You can see where the edges of the "B" and "L" letter stamps got into the ink...whoops.

And since the stamp letters were too big to fit "and the," I wrote it in. Gotta love Sharpies.

Hmm..."the" should probably be capitalized...

Now, what to do with the back cover? I thought I'd try some webbing.

Hard to tell, but there are pencil marks for the webbing.

Now to ink with--you guessed it--Sharpie.


Webbing is finished. Now onto the spine. "SPIDER-MAN and the BLACK CAT." Then crediting the author--the very talented and entertaining Kevin Smith.

Can't remember why I decided to go all caps on their names, but probably it was because that's what I did on the cover.
Front and Cover:


Front, with a little webbing in the inset.


And onto casing in the text. Almost finished!


Wasn't so fond of the webbing in the inset. Decided to shade it in with Sharpie.


Finished!!


Not one of my favorite story lines, but man, do I love how this project turned out!


And that's all for Spider-Man and the Black Cat: The Evil That Men Do by Kevin Smith.

Next time: Green Arrow!


Thursday, May 22, 2014

The Black Cat

Wow. Who knew writing, editing, designing, printing, and selling a novel would be so time consuming?

Okay, so where did we leave off? Spider-Man and The Black Cat: The Evil that Men Do by Kevin Smith...

What makes this mini series different from other Spider-Man comics is The Black Cat. I wanted to feature her on the cover. The red would evoke Spider-Man and with a little webbing, he'd be plenty represented. Felicia (AKA The Black Cat) was a former girlfriend of Peter Parker/Spider-Man. Their past relationship comes to play in this series. I thought I would draw Felicia wearing a tee with a Spidey heart on it.

Sketches and notes

First drawing

Partially inked with Sharpie

Fully inked and cut out

Colored
She needed some sort of background. This is what I started with.

Background for The Black Cat

The Black Cat with background 


Then I glued The Black Cat with her background into the spot in the cover.


Next time: Title and Back Cover (plus final touches on picture inset).

Monday, March 3, 2014

Spider-Man and the Black Cat

Spider-Man and the Black Cat: The Evil that Men Do

For this binding, I was picturing a bright red book cloth since that is Spider-Man's primary color. I also had an idea of drawing a picture of the Black Cat and Spider-Man on the cover. I decided to do a full cloth cover with a picture inset. For this I needed two pieces of book board and once piece of chipboard, which is a slightly thinner piece of board. (I actually just used a piece of cardboard that came with my comic book order, which is thicker than the book board but a much lighter material.)

First I determined the size of the picture I was planning to draw for the cover. I cut that out on the "chipboard."


Then I glued the chipboard, spine board, and back book board onto the red book cloth.


Then I removed the cloth in the square where the picture will eventually go.


The next step is to take the scraps from the previous step and glue them onto the remaining book board. I traced the square from the chipboard onto the book board so I would know where to glue the scraps.


Then I glued the last book board onto the chipboard.


And turned in the edges of the book cloth.


Close up the book and you can see where I'm going to put the picture.


Next Time: The Black Cat!